Winter is getting pretty serious about our relationship. So with a distinct lack of recent videos and Instagram posts few and far between, today is a good day to talk about why we’ve been so busy.
Prior to the release of the RetroFlyer things were already picking up but shortly after it started to gain traction we decided we needed to change a few things. Mainly because we were split. We had a workshop space and a separate studio space. And neither really fit our growing needs. So in early May of 2019 my neighbor took his 100hp skid loader and cut several large rectangles into the dirt. Construction of our new workshop and studio began.

Best. Neighbor. Ever.
Unique Construction: There is certainly a lot of normal construction, but in this project there were also some elements that I personally haven’t seen anywhere else. Before my time working in studios around LA, many years ago, I ran a crew doing residential construction. And before that I built dozens of forts and treehouses in the woods. I’ve always been a builder. Although more recently most of my building would be considered engineering. One of the truly unique things about this project is that it has no plans. This whole 3500sqft project has a single 24”x16” layout drawing. All the other information, for better or worse, is contained or created in my head. (Although the live studio rooms have had some acoustic modelling tests just to be sure we don’t create any problems.)
Concrete and isolation: Concrete is generally a great thing for a studio floor. It’s mass makes for great isolation and dampening. BUT it can also transfer vibration. Although we’re mostly rural, 20ton dump trucks go by our property nearly every week - sometimes every day. That low rumble can ruin a recording. So we figured out a way to isolate the entire concrete floor in what I think is a truly novel application of existing concrete technology.

Hard to realize the scale, but the large rectangle in the back is a whopping 44’x60’
ICFs and Floating Slabs: ICFs are basically styrofoam building blocks for making concrete walls. A bit like legos for grown ups. You stack and secure them, then fill the core with concrete leaving foam insulation on both sides. Making a ring with these ICFs and then placing a slab within means that the slab is isolated from the concrete wall by the foam insulation. On a bed of nearly 12” of compressed gravel, we put 2” styrofoam - so now the slab will also be isolated from the ground. The problem being, isolated slabs make for very poor load bearing. So in the middle of this VERY large slab, we created isolated piers which can carry the load of the roof. Another feature of these ICF forms is that they are very wide. Over 13” from edge to edge of the insulation. So when used as stem walls you could, if you want to, frame a double wall for excellent sound insolation/dampening. Simply taking the ICFs all the way up to the full height of the walls is probably about as good as you can do for isolation. But concrete is quite expensive and the taller the forms the more work/bracing is required for proper installation. Plus retrofitting or running wiring etc becomes much more cumbersome. Since we are using a room within a room format for our live rooms this wasn’t necessary and we framed with 2x8 on top of the stem wall.
Hydronics: If you have an isolated/insulated slab you may as well run some pex through it for heat. It’s a great way to avoid forced air and have even, energy-effecient quiet heat.

2000’ of Pex A on top of fiberglass rebar - Hydronic heating is awesome.
Getting Tall: Parallel walls and ceilings are the enemy of sound recording. Walls are simple enough to bend and twist in new construction, but for ceilings we needed a bit more thought and design. The real challenge here was to maintain the ability to have large live rooms with tall, angled ceilings supported by only 8 piers in the middle. So we brought in some very long LVLs which are laminated structural beams, designed to carry load without sagging. A bit like a laminated plywood version of a steel girder. (another cool benefit is that laminated plywood doesn’t transfer vibration nearly as much as solid wood or steel) Placing 2 LVLs across each span, for a total 16, we then added some additional framing and the load-bearing structure for the roof was in place.
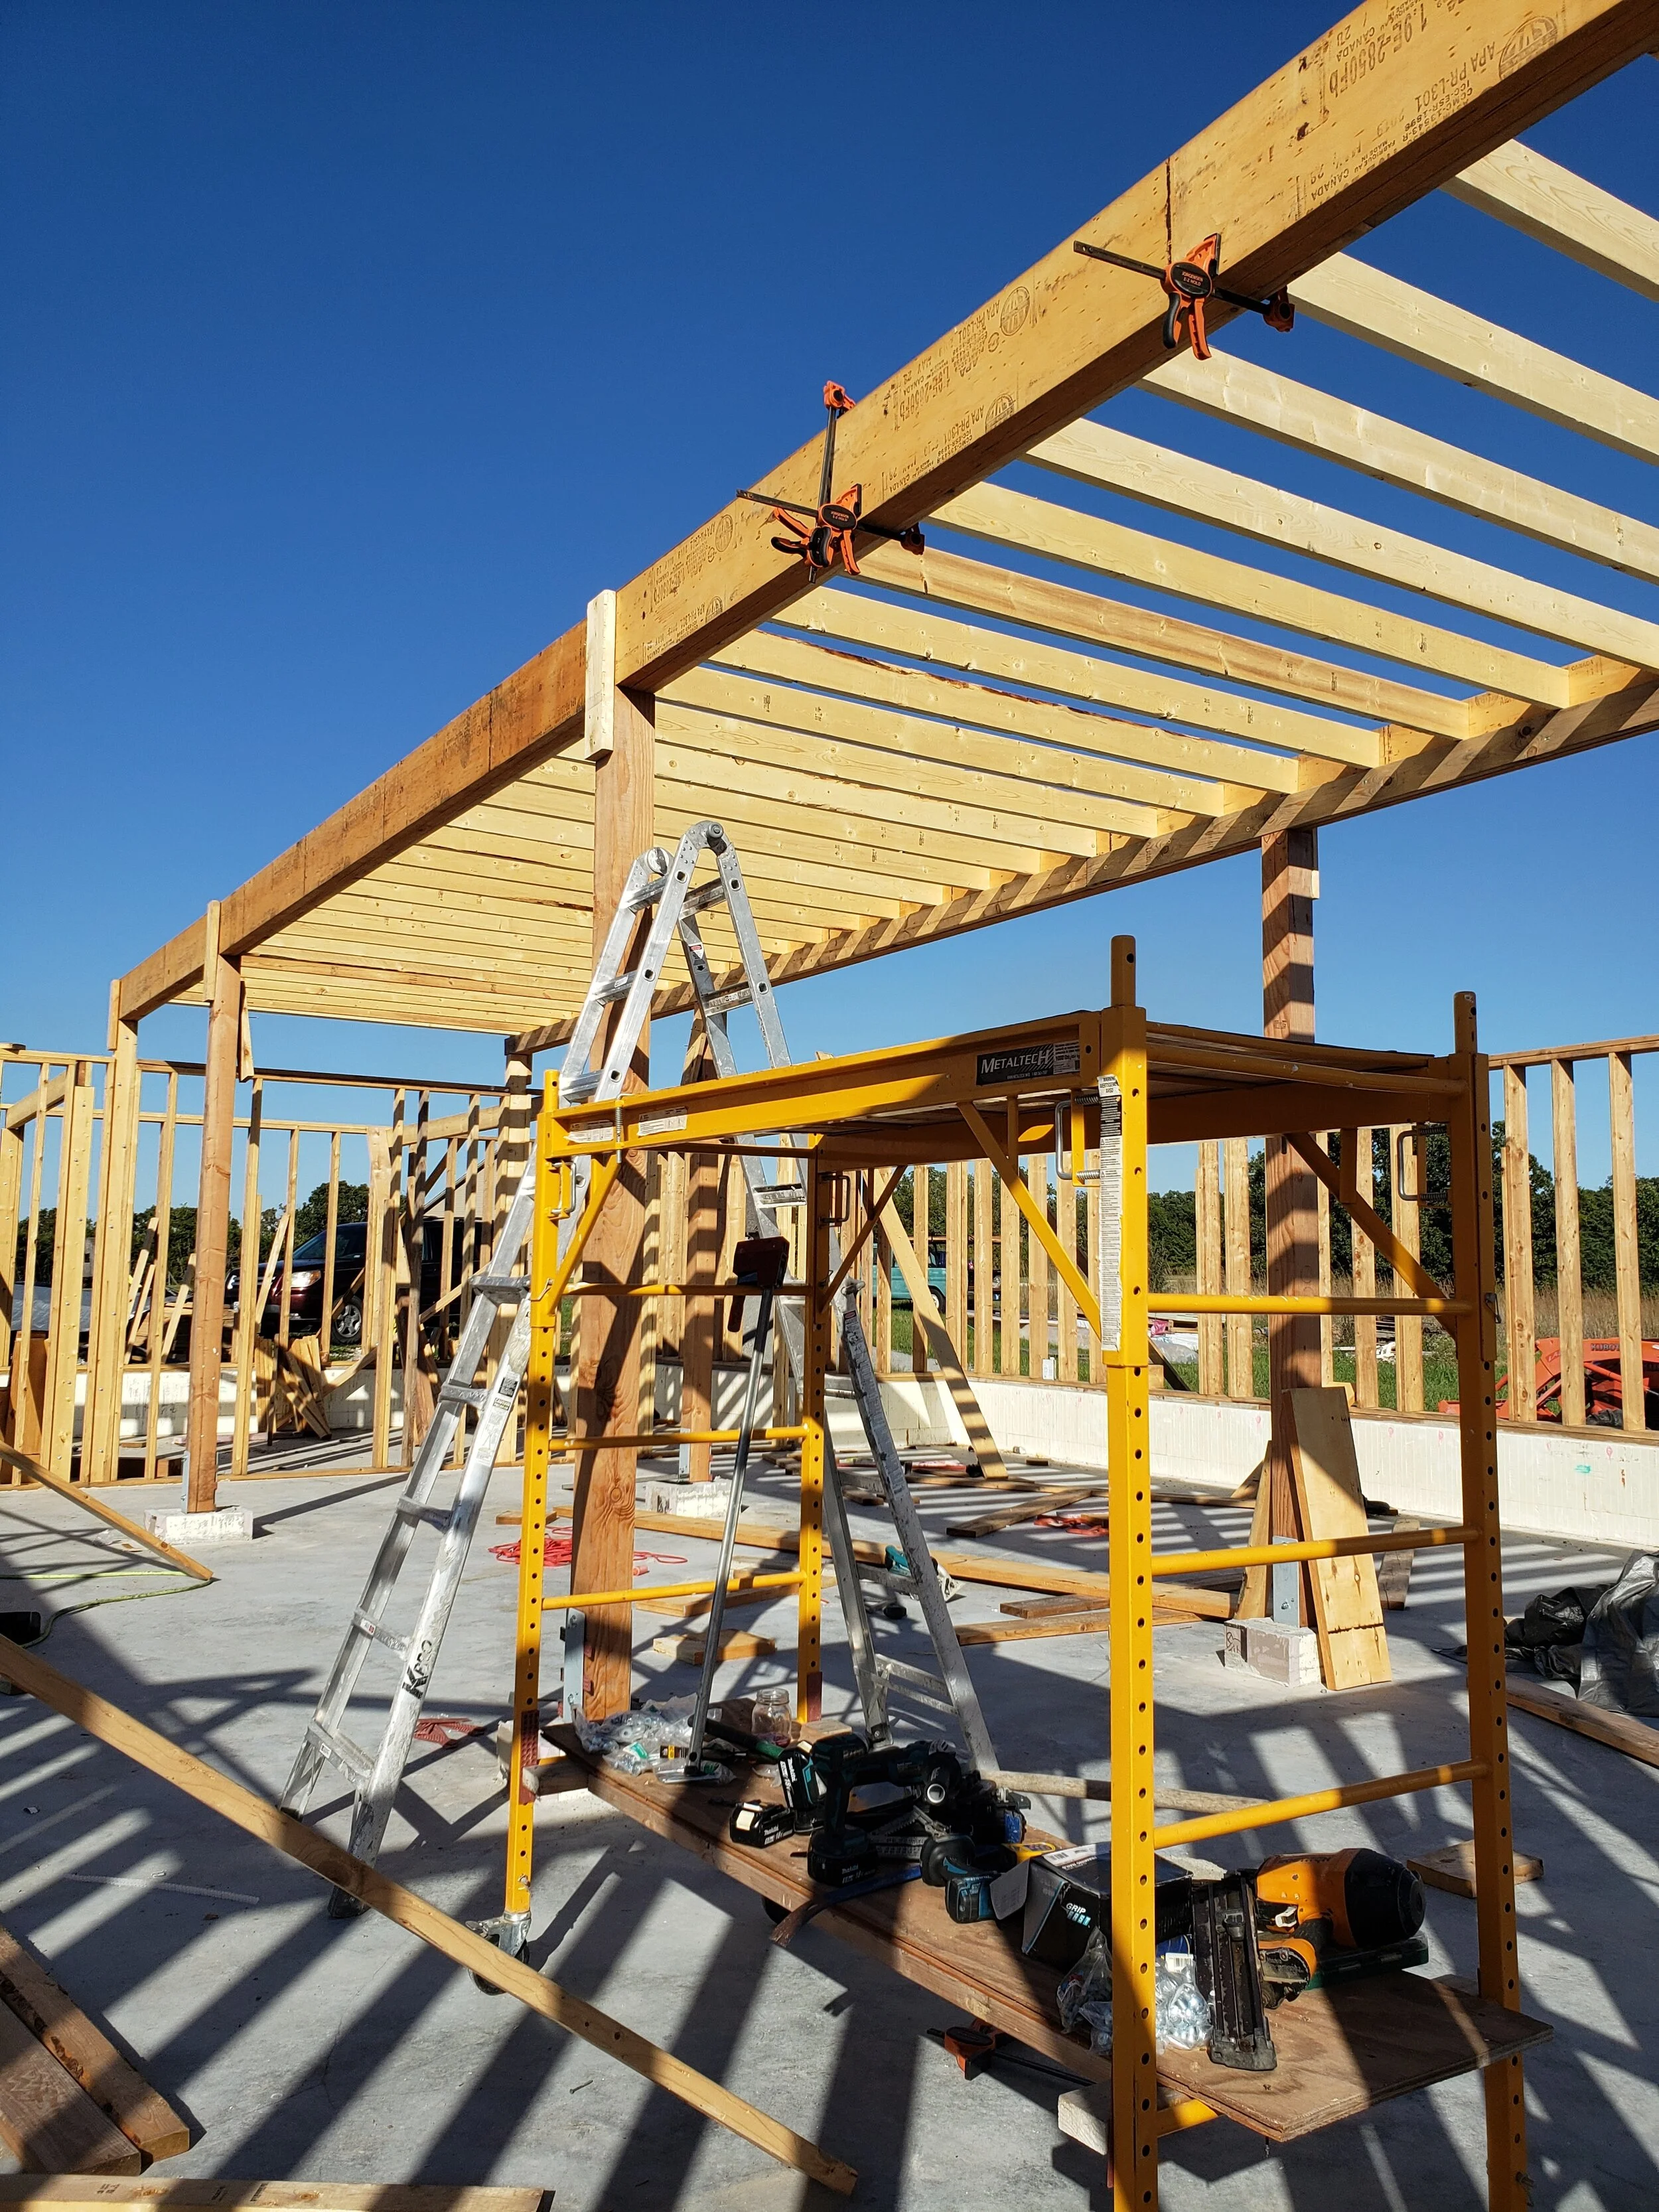
16’ tall with 4”x12” LVL beams - the walls are framed with 2”x8”
Progress & Help: We figured this project would take about a year and I do think that’s about right. We’re on track to close up by the end of February. If we were a week farther along a lot of the snow currently IN the studio would be outside the studio. But that’s how it goes. Without a proper crew it’s hard to be speedy. We have had some great help from some wonderful people. Special thanks and shout out to Josh, Mark, Tim, Kirk, Jillian, Gracie and Brent.

Kirk attempts to hold a rainbow while my children adore him.
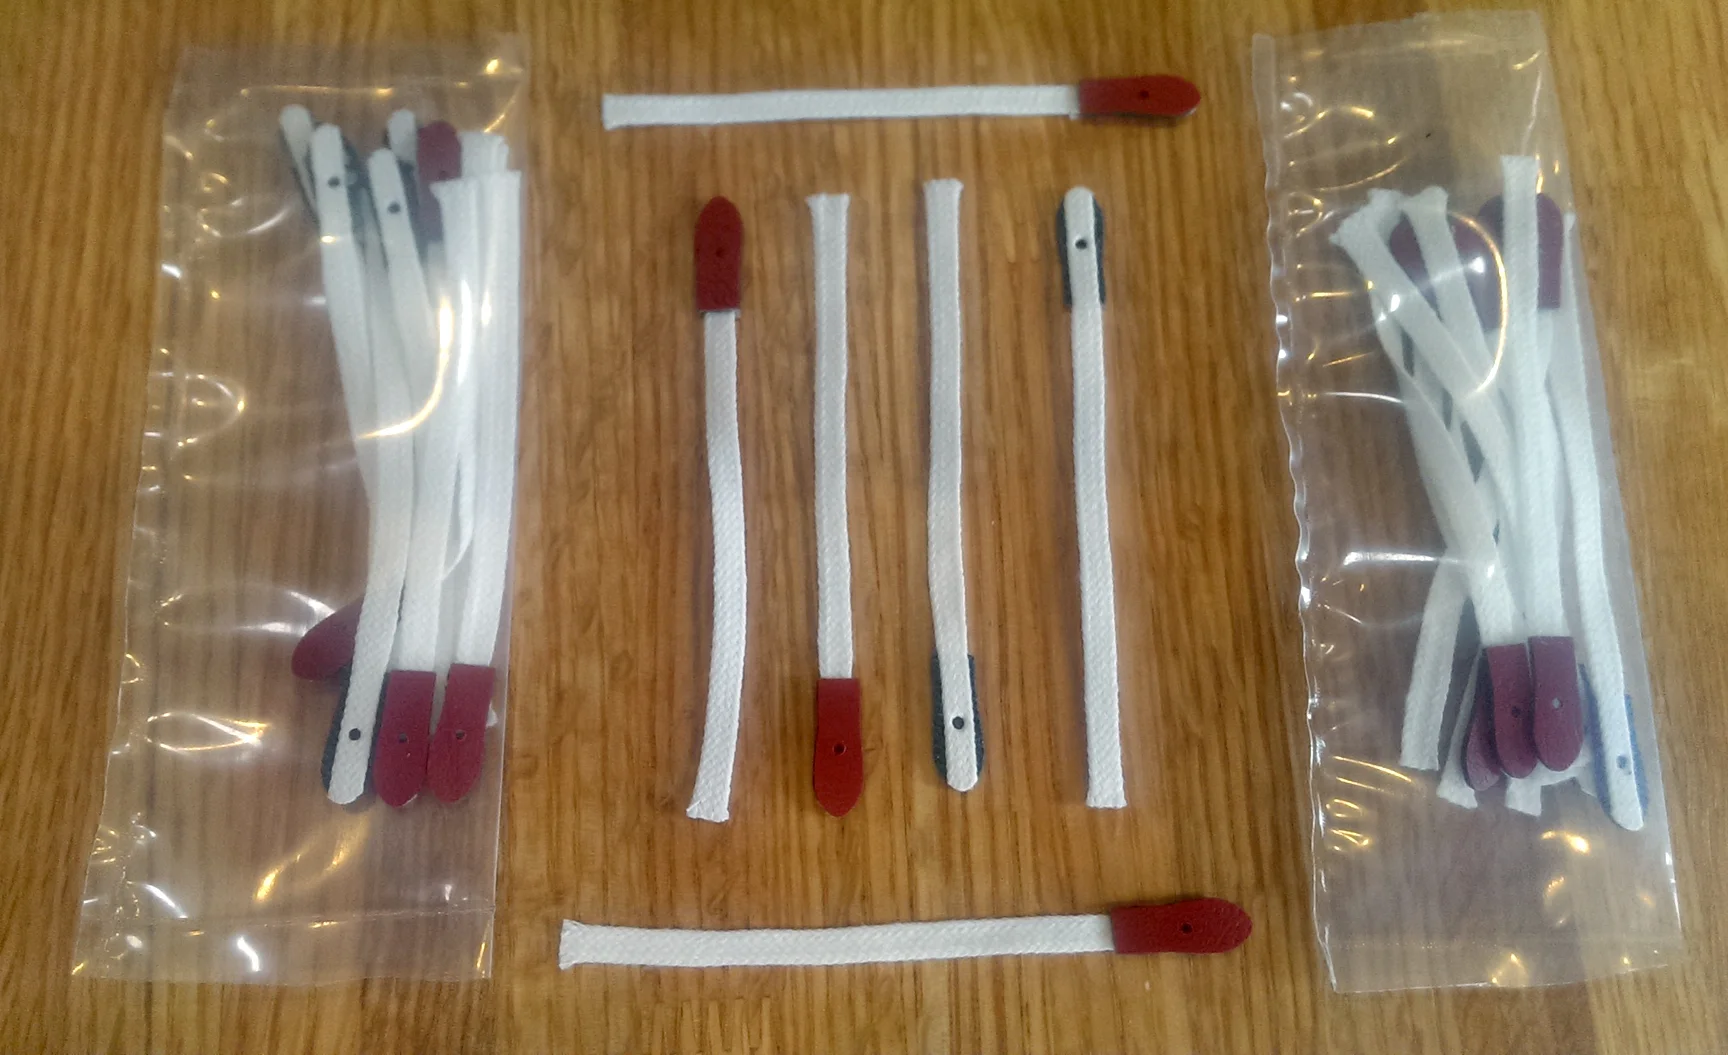
Still getting it done: Throughout all of this hustle and bustle all the orders have been going out on time. We’ve still serviced dozens of keyboards and many dozens of preamps via our mail-in service. We hired Gracie (an engineering student) to handle most of the board soldering for the RetroFlyer. She’s ridiculously good at it.
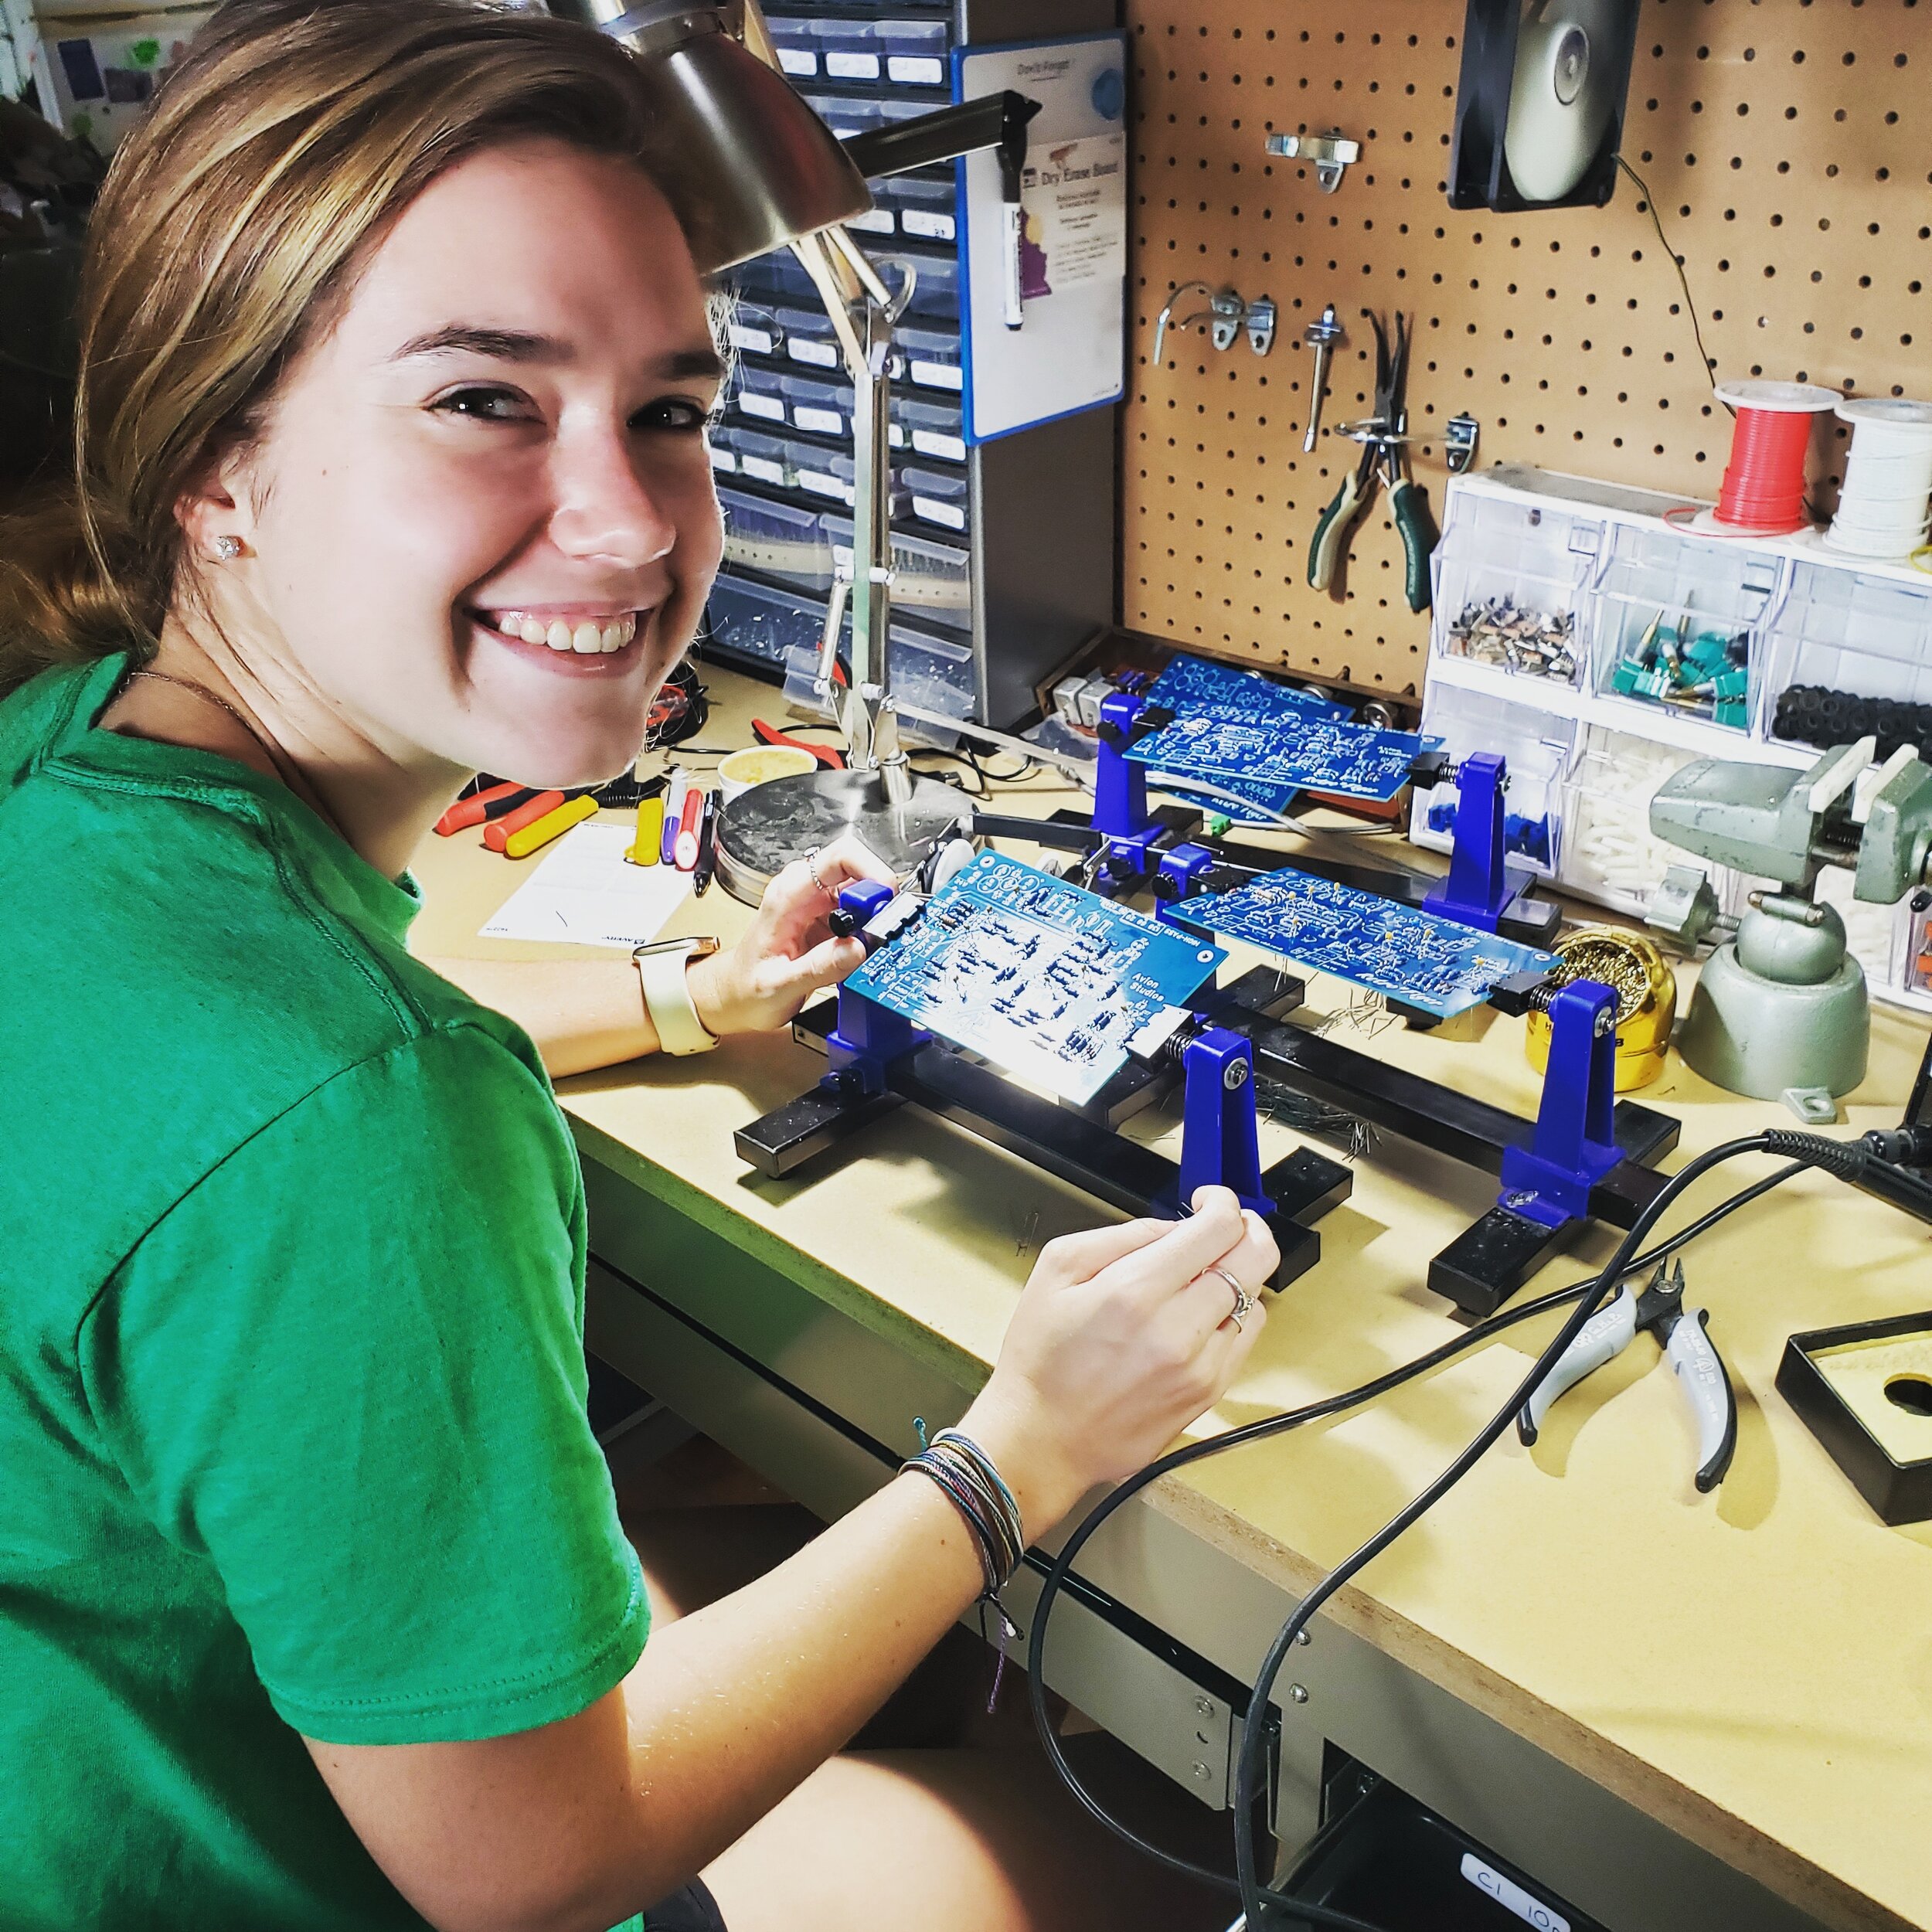
In addition to making us all look old, Gracie is an EXCELLENT solderer.
Meanwhile Wade has been searching and traveling for boards. And once the workshop opens we’ll have about 20-30 boards to go through - so stay tuned on that one. Not to mention, and not surprisingly, the keyboard room in the studio will feature a who’s who of electro-mechanical wonders. Hammond B3 w/ Leslie, CBS Rhodes, Clavinet D, Jetson Rhodes, Wurli 140, Wurli 200, Farfissa Compact, Yamaha CP70, Yamaha C3 etc.

One of the bigger trips this year with a 200A, Rhodes, Korg, Farfissa and a couple Yamahas.
Forward: We’re so grateful for this last year and for all our customers. You folks have been fantastic and you make all the work very worthwhile. Part of this large investment has been made to ensure we can continue to be a cost-effective, high-quality and efficient company in vintage keyboards. Basically so we can continue to grow while maintaining what helped us grow - innovative products, great service and fair prices. We’ll be able to ship faster, lower our overheard, work more efficiently and produce both content and manufacture innovative products with much greater frequency. We have a number of exciting additions coming to our product line in the next couple years. And our workshops will include a custom CNC, 3D modeller and a whole host of production and service equipment.

A bit of roof and my old frosty butt, getting things done in 12 degree weather.
I hope this was maybe a little interesting for some. If anyone has any questions about the somewhat unusual construction feel free to shoot us an email. I’ll try to do another blog that details a bit of the actual studio construction/wiring/treatment. As for now, the storm has moved on. My shovel and I will go out for a bit and hopefully by the next storm the workshop will be fully covered. Thanks for reading, thanks for visiting our site and generally thanks so much for being a wonderful community of players.
All the best, Morgen